Today we will be looking at some basic and simple steps which can improve photo quality of the object
Looking for Improving your photo skills. Below 5 Steps can help you brainstorm.
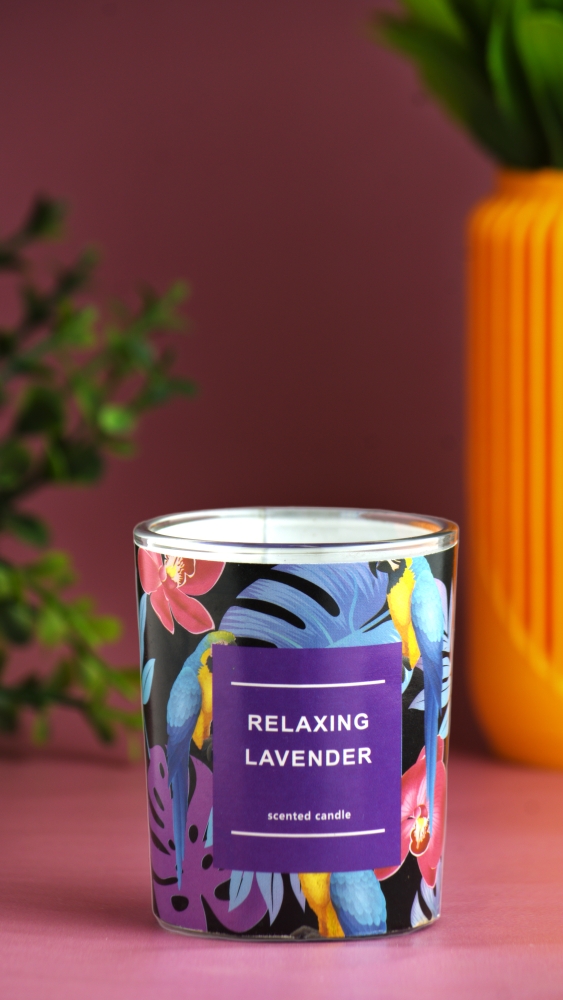
Our Product for Today is a small Scented Candle which really has a lot of texture and is a interesting object to photography

Step 1 – Taking a rough idea of the product. Freestyle Shoot, where we understand the product, the background, and decide the canvas
Here we just click and just let our eyes and mind in their flow state to judge whether this will look good or not.
Step 2 – Now we get into technicals, Aspect Ratio, Shutter Speed, ISO, Apperture and Shoot Angles to get a clean visual
Here we put one step closer to the image that is formed somewhere in the brain or close to the reference we found.
EXIF for this Image; ISO 100, Shutter Speed 1/20 sec., F 9.0,
Shot on Canon 1500D 55-250 mm kit lens with Focal length of 135 mm;
with continuous light from right side of the object.


Step 3 – Adjust lightings, Keeping things as they are, the camera was tripod mounted and object steady on a table top; we move to improve the lighting by adding a bounce card (piece of thermocol) from left side of the product
Comparing the photo in Step 2 and 3, the shadows are still there and the left profile of the object is more evenly lit
Step 4 – Now Adjust the Background to add depth. Ideally the background should be something which will compliment the object along with giving a perspective.
Here, while working on the depth of field, I had removed the bounce card and forgot to add while clicking. Dont make the same mistake!


Step 5 – Added another object for balance and perspective.
For the final image, everything is put together along with the bounce card and final image is ready.
Hope you find this useful. Stay tuned for more.
Tags: Photography, Skills, How to Improve Photography, Learn Photography, Product Photography